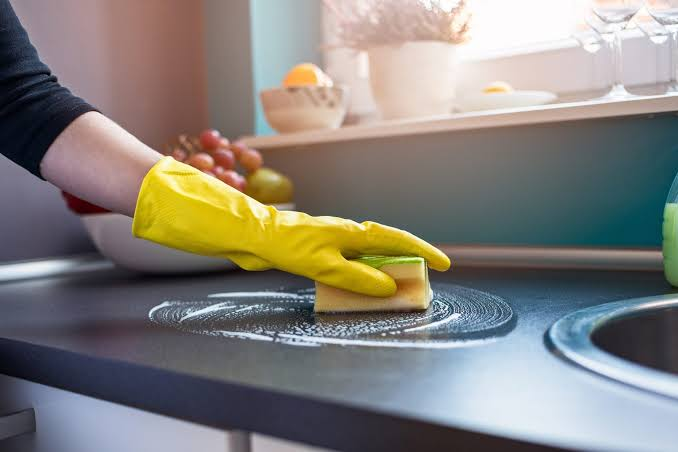
Kitchen Deep Cleaning Checklist: What Actually Gets Every Surface Spotless
A regular kitchen wipe-down handles counters, a quick pass on the stovetop, and the dishes in the sink. A deep clean goes further — inside the oven, behind the burners, the buildup on your fridge shelves, the grease film on your cabinet doors. Here's exactly how to do each part, the way a professional crew would.
Countertops
- Spray countertops with an all-purpose cleaner.
- Wipe away with a clean microfiber towel.
Sink
- Wet the sink down completely by spraying water all around it.
- Apply Bar Keeper's Friend Soft Cleanser to a damp non-scratch sponge and scrub the entire sink.
- If the sink is heavily stained: use Bar Keeper's Friend Powder Cleanser instead — apply it to the damp sponge the same way.
- Let it sit for 5–10 seconds.
- Rinse thoroughly and buff dry with a microfiber towel.
Stovetop
The steps differ depending on whether you have a gas or electric range — treating them the same way risks damaging either one.
Gas Stovetop
- Turn off the stove and let it cool completely. Take a photo before removing anything, so you know how everything goes back.
- Remove the grates, burner caps, and burner heads.
- Put the grates in a garbage bag and spray with an oven cleaner/degreaser; let them soak.
- Soak the burner caps and burner heads separately in warm water with a small amount of dish soap.
- Vacuum any loose crumbs or debris off the stovetop surface.
- Spray the stovetop surface with a degreaser.
- Scrub with a non-scratch sponge; use a toothbrush for tight spots around the igniter and edges.
- For stuck-on grease, a razor scraper can help — spray first, never scrape a dry surface.
- Rinse with clean water and a damp microfiber towel, removing all soap residue.
- Dry completely with a microfiber towel.
- Scrub the soaked grates, caps, and burner heads with a non-scratch sponge; rinse and dry completely — this matters most for cast iron, which can rust if left damp.
- Reassemble using your reference photo.
Maintenance tip: wipe the stovetop with a damp microfiber cloth after every use, and clean spills before they bake on. A full deep clean of all removable parts every 3–6 months keeps grease from building up between visits.
Electric Stovetop
- Dust the stovetop and clear away loose debris.
- Spray with a degreaser (Dawn Powerwash or regular dish soap both work).
- Scrub the entire surface with a non-scratch sponge.
- Wipe away the soap/degreaser with a damp microfiber cloth — leave the surface slightly damp for the next step.
- For baked-on grease that's still there after scrubbing: apply Bar Keeper's Friend Cooktop Cleaner to the damp surface in small circles, focusing on the burner areas. Dwell time: light stains scrub right away, moderate stains need 30–60 seconds, tough stains up to a minute. Never let it dry on the stovetop.
- Wipe with a dry microfiber towel to finish.
Oven
This is the part most people skip at home — and where a deep clean makes the biggest visible difference.
- Remove the oven racks. Lay them outside on a garbage bag (not in the bathtub — grease will transfer and create a second cleanup job) and spray with an oven cleaner. Let them soak for 30 minutes.
- While the racks soak, vacuum loose crumbs and debris out of the oven interior, then wipe out any remaining residue with a paper towel.
- Leave the oven door open and lay a garbage bag or covering at the base of the door opening to catch drips.
- Spray the oven interior with your cleaner. If any lands on the fan, electrical connections, thermostat, or heating element, wipe it off immediately with a damp towel.
- To treat the fan itself: spray the cleaner onto a paper towel first, then wipe the front of the fan with the towel. Never spray directly into it — if chemical gets inside, the fan has to be disassembled to clean it out.
- Let the interior sit for 30 minutes — don't let it dry out.
- Scrub the soaked racks with a non-scratch sponge, rinse thoroughly, and set aside to dry.
- Wipe the oven interior — paper towel first (it lifts the heaviest grease), then a microfiber towel.
- For charred spots that won't budge: use a razor blade scraper with cleaner or water as a lubricant, never dry. Go slow with a fresh, rust-free blade.
- Clean the top heating coils with a non-scratch sponge and water only — no chemical cleaner on this part.
- Dry the interior completely, then replace the racks.
Self-Cleaning Ovens
Only use a fume-free cleaner, and only if you won't run the self-cleaning cycle while any residue remains. Never heat the oven during cleaning.
Blue Enamel Interiors
Skip heavy-duty chemical cleaner entirely — the caustic lye formula can permanently etch the porcelain finish. Use the natural method instead.
Natural Alternative (for allergies, asthma, or chemical sensitivity)
Everything above stays the same — racks, prep, wait times, rinsing — only the cleaning agent changes.

1. Start with baking soda in a bowl

2. Mix to a spreadable paste

3. Apply and scrub in
- Make a paste: start with baking soda in a bowl and mix in water a little at a time until it's thick and spreadable — no dry clumps, not runny.
- Apply the paste to the oven surface with a brush or tool and scrub it in with a non-scratch sponge.
- Let it sit — 15–20 minutes for light grease, 30 minutes for moderate (recommended for most cleanings), 45–60 minutes for heavy or baked-on grease.
- Wipe away the paste with a damp paper towel or microfiber towel.
- Spray vinegar onto the surface to cut through any remaining grease, then wipe clean.
Oven Liner Placement
| Oven Type | Where the Liner Goes |
|---|---|
| Gas oven | Bottom rack — never directly on the oven floor |
| Electric, exposed element | Directly on the oven floor, underneath the element, lying flat |
| Electric, hidden/concealed element | Lowest rack instead — not on the floor |
Either way: never let the liner touch a heating element directly, and trim it to leave about an inch of space around the edges for air circulation.
Refrigerator (Interior)
- Remove all items from the fridge.
- Vacuum out or pick up any small debris.
- Mix a bucket of water with 1–2 drops of dish soap.
- Dip a non-scratch sponge in the solution and clean all interior surfaces.
- Wipe with a damp microfiber cloth (rinsed in clean water) to remove soap residue.
- Finish with a clean, dry microfiber cloth.
Appliance Exteriors (Stainless Steel)
- Apply Bar Keeper's Friend Liquid Cleanser to a damp non-scratch sponge.
- Scrub the stainless steel exterior — refrigerator, dishwasher, etc. — in a circular motion.
- Let it sit for 5–10 seconds.
- Wipe down with a damp microfiber towel.
- For a polished, streak-free finish: spray a stainless-steel-safe polish onto a dry microfiber towel and rub it into the surface.
What's Included in a Professional Deep Clean vs. an Add-On
| Standard Part of a Deep Clean | Priced as an Add-On |
|---|---|
| Countertops | Cabinet interiors |
| Sink | Inside the oven |
| Stovetop | Inside the fridge |
| Appliance exteriors | Dishes |
These take meaningfully longer than a standard pass and aren't needed at every visit, which is why they're priced separately.
For more on how often a full deep clean makes sense for your home, see our guide: How Often Should You Deep Clean Your Home?
No responses yet